WARNING: Try this at your own risk. If you do this incorrectly, you will have to do another transaction to correct the data.
Note: This is only possible after your Claim/BurnRedeem ends. You must know the total number of tokens.
- Create metadata files for each NFT, numbered 1-N (where N is the total number of tokens).
You can start with the existing NFT’s metadata file as a template.
The files MUST be just number 1-N. No extension
- Upload these to either IPFS or Arweave.
Test out your files to make sure they’re fine by verifying the json and checking the metadata is different for each ID
e.g.
IPFS:
https://ipfs.io/<IPFS_PATH>/1
https://ipfs.io/<IPFS_PATH>/2
...
Arweave*:
https://arweave.net/<TRANSACTION_HASH>/1
https://arweave.net/<TRANSACTION_HASH>/2
...
-
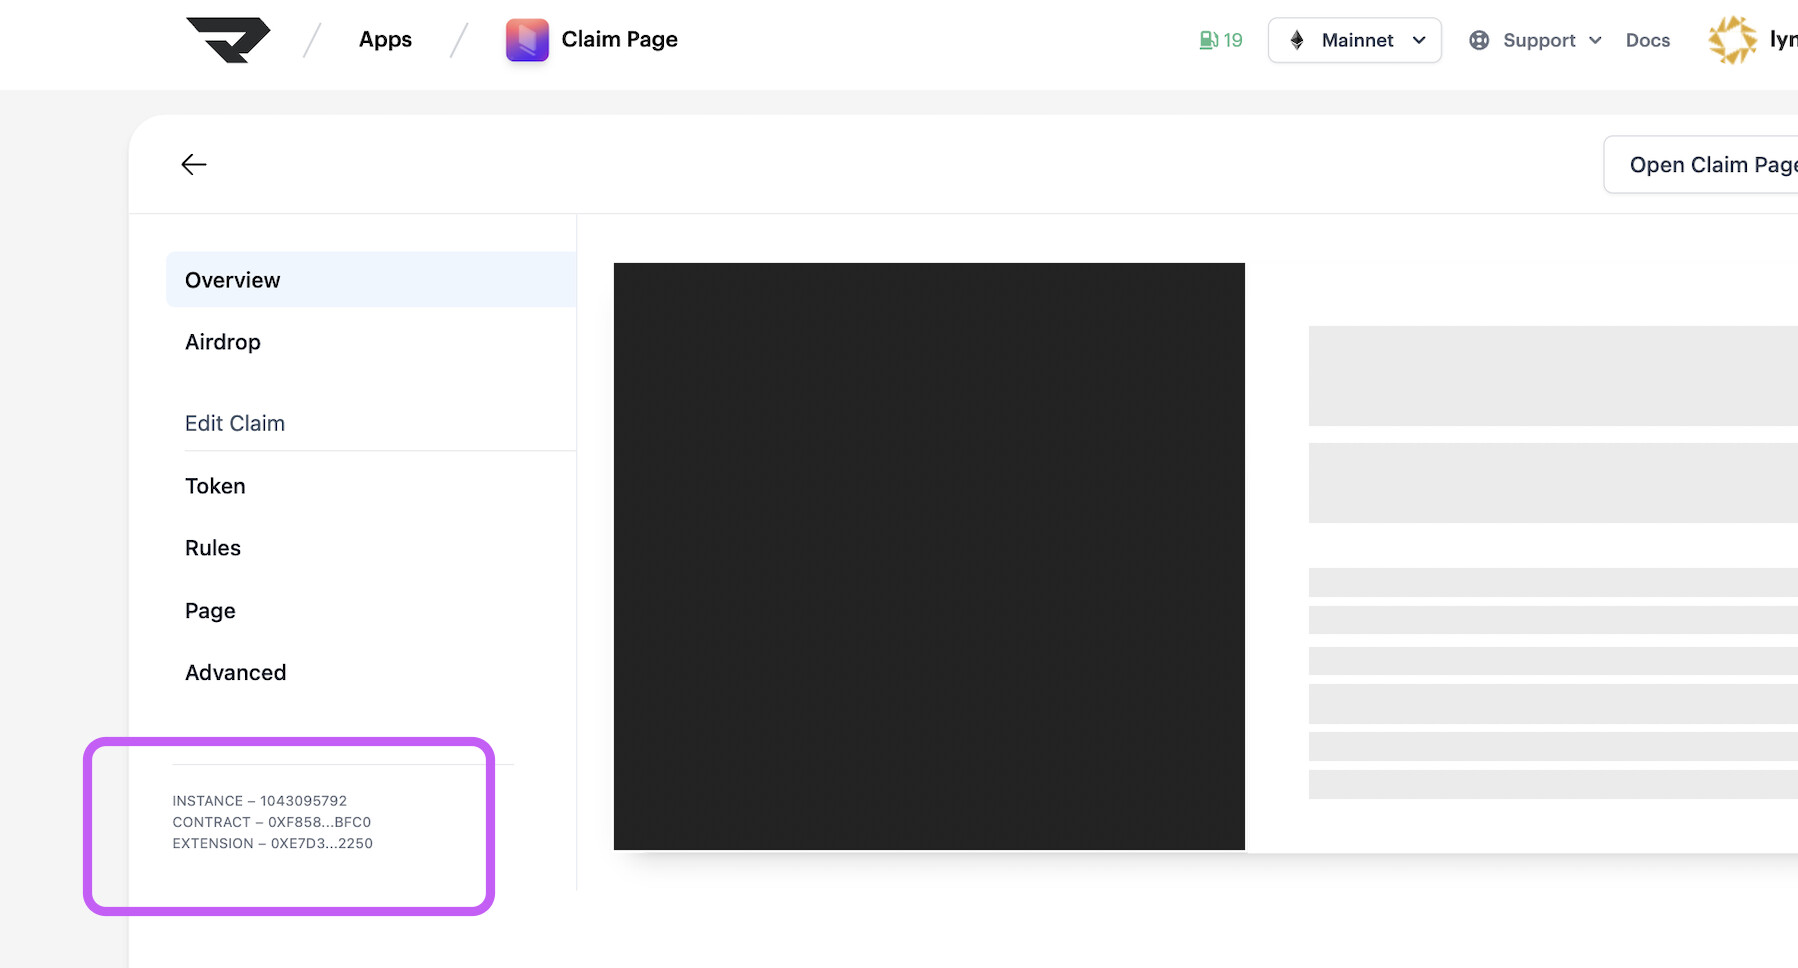
Open up your claim or burn/redeem to find your instance information. At the bottom you’ll see INSTANCE, CONTRACT and EXTENSION.
-
Go to etherscan.io and enter the extensionAddress from step 3. Click on ‘Code’, then ‘Write Contract’
-
Click ‘Connect to Web3’, make sure it turns green. You may have to click it twice.
-
Go to updateTokenURIParams
You will want to enter the following values:
creatorContractAddress: from step3
instanceId/claimIndex/index: the id from step3
storageProtocol: 2 for Arweave, 3 for IPFS
identical: false
location:
  for arweave, it's simply the transaction hash (DO NOT include https://arweave.net/)
  for IPFS, it's the ipfs base path (do not have a trailing slash)
Click Write and approve the transaction